This guide explains how to authenticate when using the EasyPost Connect API.
The EasyPost Connect API is secured through three authentication layers:
- Mutual TLS (mTLS) at domain level
- An API key provided in the
x-api-keyrequest header - A Bearer token obtained through the OAuth 2.0 Client Credentials flow
All three layers are required when calling protected API endpoints.
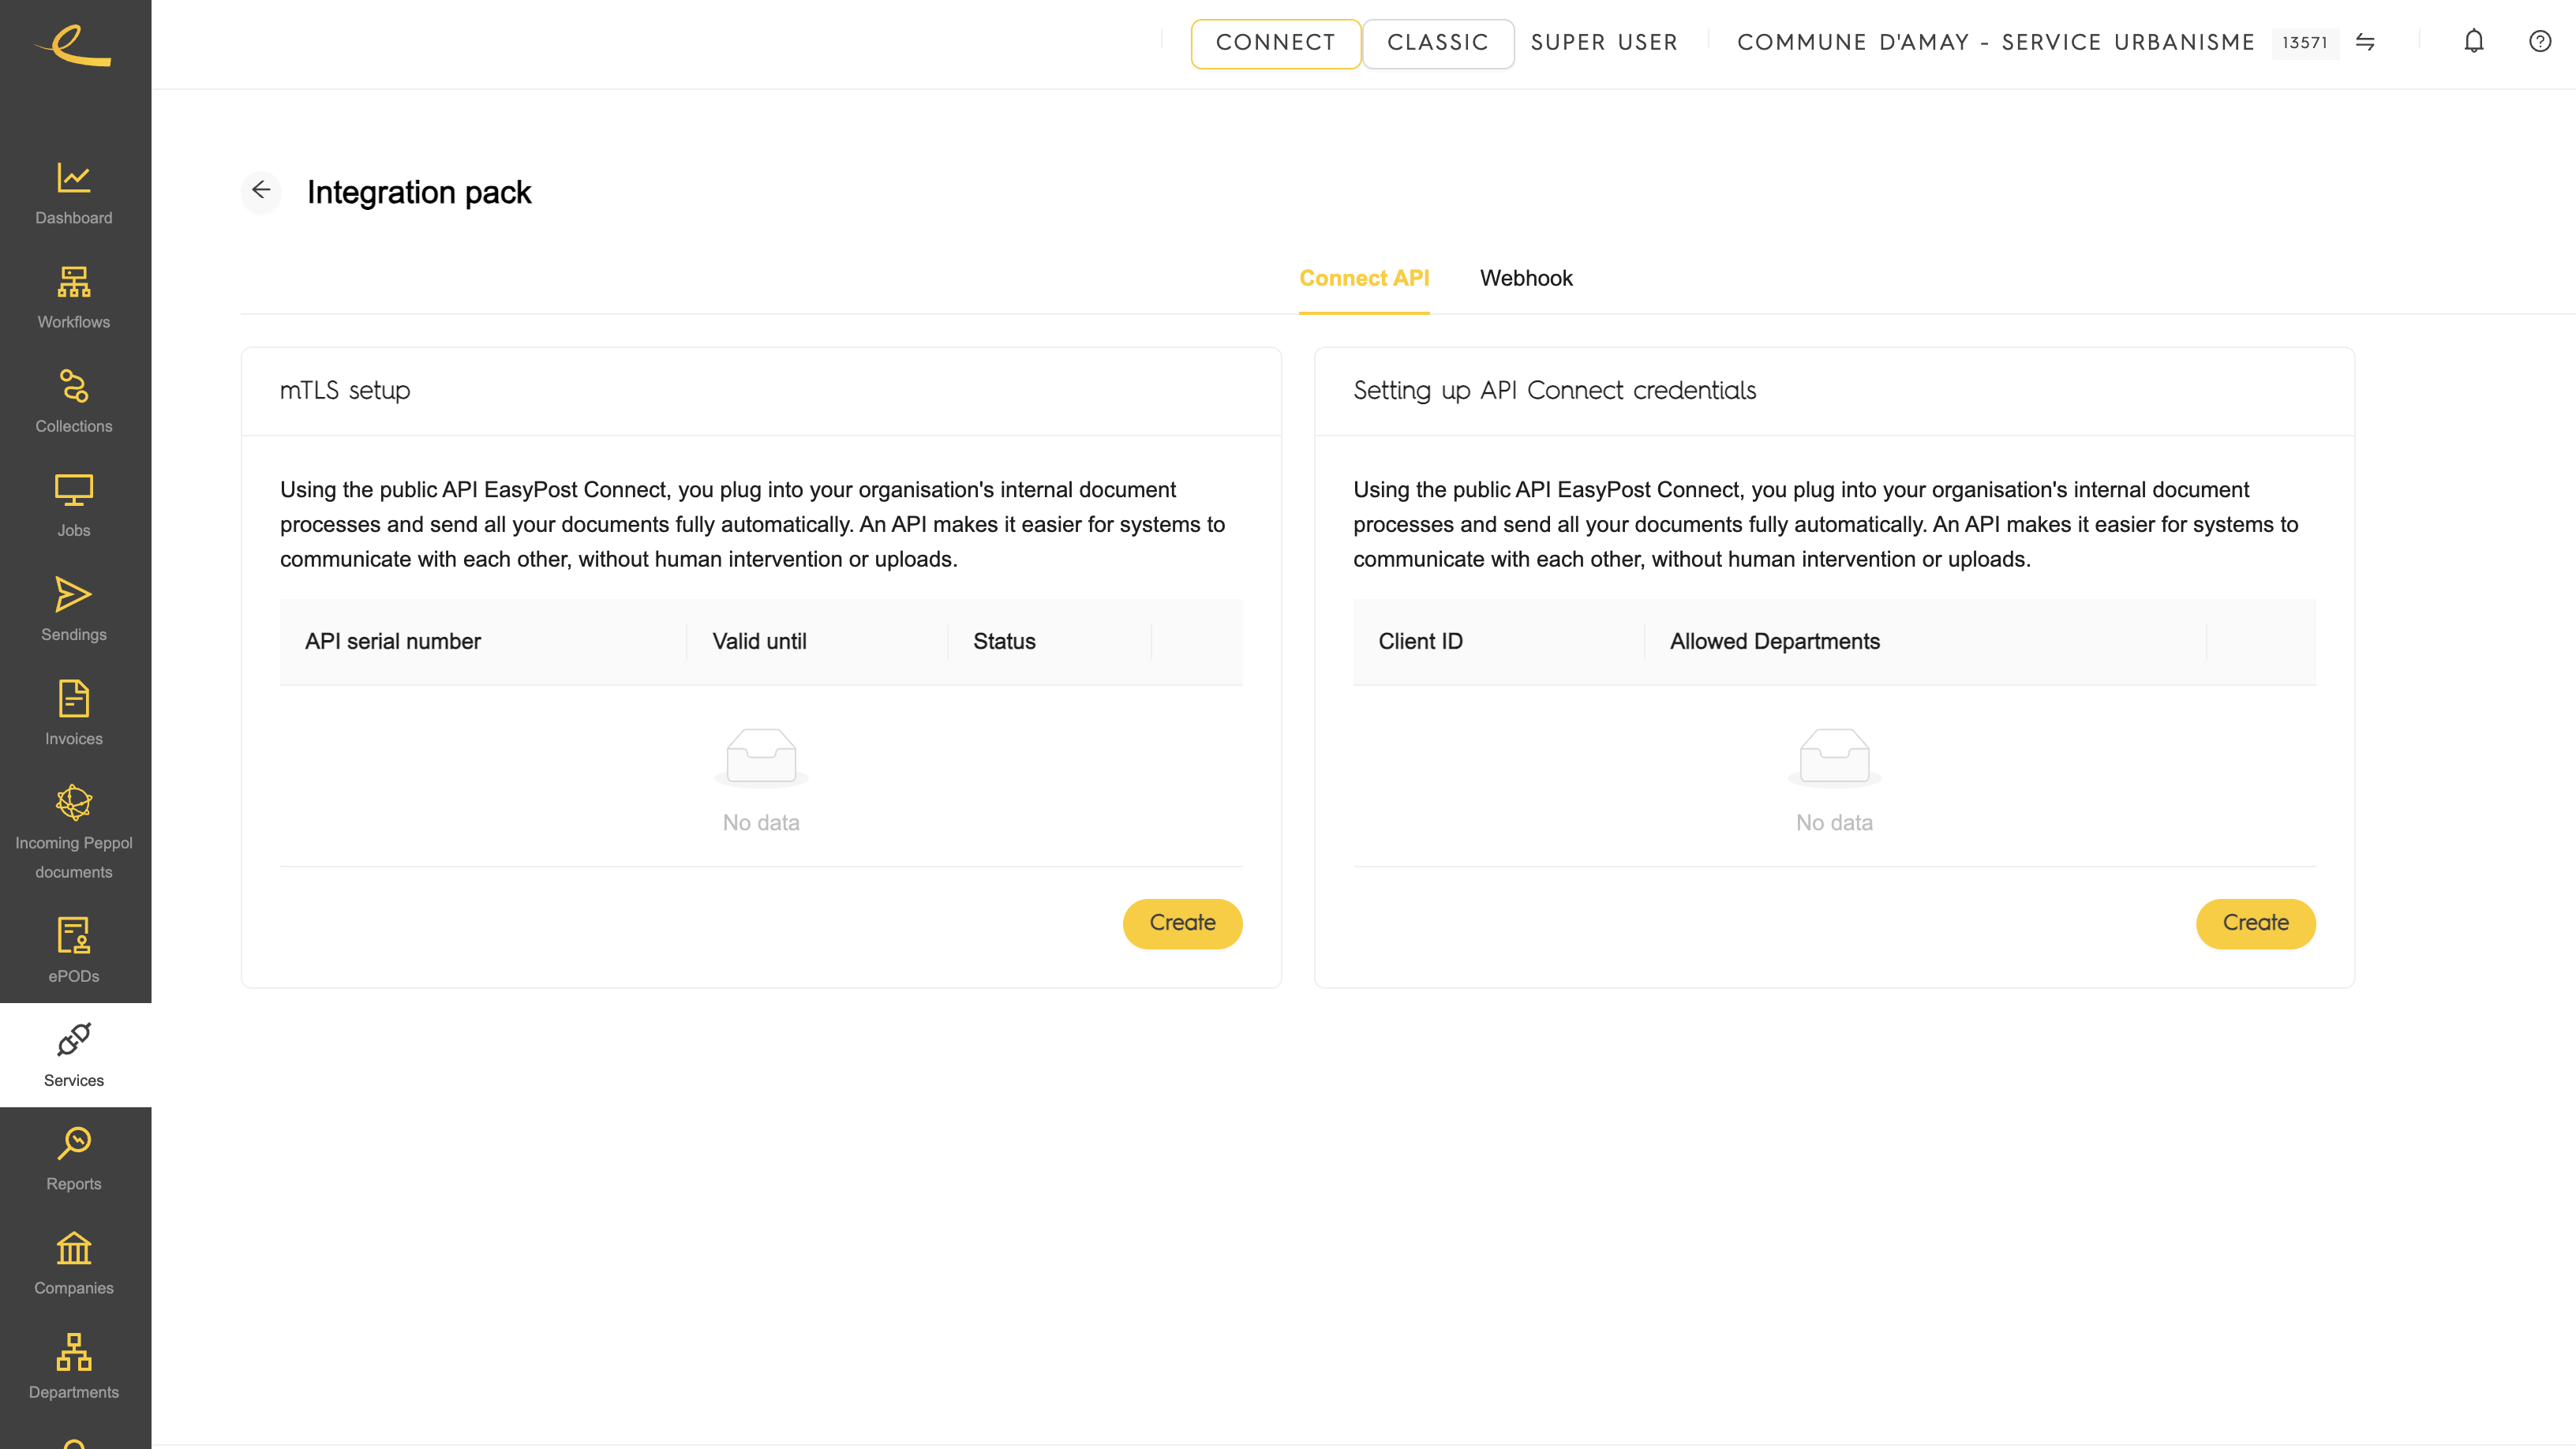
The setup can be completed in the EasyPost Connect Portal. Log in, open the Services menu, and select Integration Pack.
All calls to the EasyPost Connect API must use mutual TLS.
mTLS requires your system to authenticate itself with a client certificate when connecting to the API domain.
Run the following command to create a 2048-bit RSA private key:
openssl genrsa -out client.key 2048The generated client.key file is your private key. Keep it secure and never share it.
Create a CSR using the private key:
openssl req -new -key client.key -out client.csr -subj "/CN=client.example.com"Where:
| Item | Description |
|---|---|
client.csr | CSR file to upload in the EasyPost Connect Portal. |
-subj | Certificate subject. Customize the Common Name (CN) to match your application or client name. |
To request your client certificate:
- Log in to the EasyPost Connect Portal.
- Open the Services menu.
- Select the Integration Pack card.
- Open the Connect API tab.
- Paste the contents of your Certificate Signing Reuqest
client.csrfile into the certificate request field (text input area located on the left). - Submit the request.
- Download the signed (generated) client certificate, provided as
client.crtin PEM format.
Store the signed certificate securely together with the private key.
- Keep the private key secure and never share it.
- Store private keys and certificates in a secure vault, such as AWS Secrets Manager, Azure Key Vault, Google Secret Manager, or HashiCorp Vault.
The API Key is generated on the right panel of the Public API setup in the EasyPost Connect Platform.
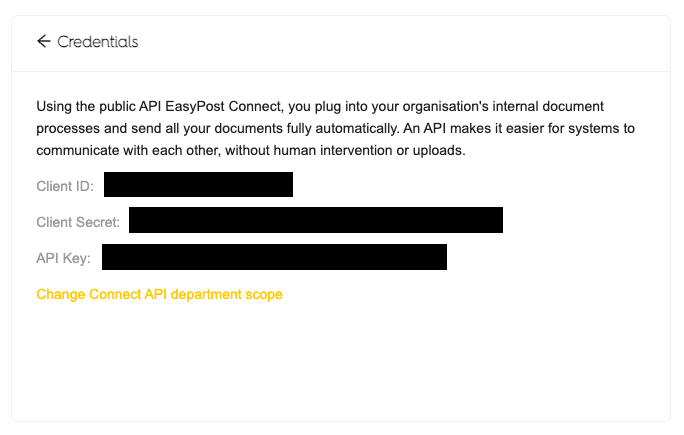
The API key is issued together with the OAuth 2.0 client credentials:
client_idclient_secret
The API key must be sent in every API request using the following header:
x-api-key: <your_generated_api_key>The client_id and client_secret generated in the setup screen are used to obtain a Bearer token.
The Bearer token must be sent in the Authorization header of every API request.
EasyPost Connect uses the OAuth 2.0 Client Credentials flow.
Use the correct OAuth 2.0 domain for your environment:
| Environment | OAuth 2.0 domain |
|---|---|
ACC | auth.acc.eservices.easypost.eu |
PRO | auth.eservices.easypost.eu |
The token endpoint is:
https://<oauth2_domain>/oauth2/tokenUse the /oauth2/token endpoint of the relevant authentication domain.
Example using curl:
curl -X POST \
  "https://${OAUTH2_DOMAIN}/oauth2/token" \
  -H "Content-Type: application/x-www-form-urlencoded" \
  -d "grant_type=client_credentials" \
  -d "client_id=YOUR_GENERATED_CLIENT_ID" \
  -d "client_secret=YOUR_GENERATED_CLIENT_SECRET"
The grant_type=client_credentials parameter indicates that the OAuth 2.0 Client Credentials flow is used.
If the credentials are valid, the response contains an access_token:
{
  "access_token": "eyJraWQiOiJ...",
  "expires_in": 3600,
  "token_type": "Bearer"
}
Use the returned access_token as a Bearer token when calling the API.
To call the EasyPost Connect Public API, your request must:
- Use mTLS with your client certificate and private key.
- Include the OAuth 2.0 Bearer token in the
Authorizationheader. - Include the API key in the
x-api-keyheader.
Example using curl:
curl -X GET \
  "https://api.eservices.easypost.eu/jobs" \
  --cert "<client_certificate>" \
  --key "<client_key>" \
  -H "Authorization: Bearer eyJraWQiOiJ..." \
-H "x-api-key: <your_generated_api_key>"Every authenticated API request requires:
| Requirement | Where it is used |
|---|---|
| Client certificate | mTLS connection |
| Client private key | mTLS connection |
| API key | x-api-key header |
| OAuth 2.0 access token | Authorization: Bearer <token> header |
If one of these elements is missing or invalid, the API request will be rejected.